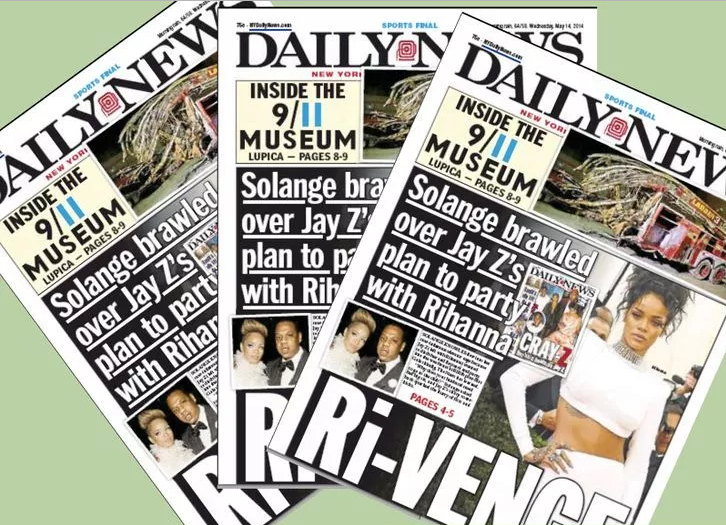
Creating a newspaper or newsletter can be a rewarding project, and can serve a variety of uses. You can use it to inform the family of what’s new, pass on the latest business information to your employees, or teach a group of young writers the journalism process. Microsoft Word offers tools to easily create newsletters and basic newspapers. Follow this guide to start constructing a paper for any purpose.
Method1
Designing Your Paper
1

Collect some newspapers. Draw inspiration from existing newspaper designs. Look at what works and what doesn’t. See how major papers place pictures and headlines to attract the reader’s eye. Understand how the basic elements of a newspaper work together.
- Stories: This is the meat of the paper, where the majority of the text is.
- Images: Photos and graphics are an essential piece of newspaper design. The break up large swaths of text and help provide context for stories. Also important for images are the captions explaining the significance of the image.
- Headlines: The headline is the first thing the reader will see before deciding whether or not the story is worth their time.
- Sidebars: These are attached to stories that contain extra information related to the story.
2
Plan your layout before beginning. It will help to have a basic idea of your paper’s design before opening Word and messing with the formatting. Take a few sheets of scratch paper and sketch out a few different designs.

- Design different pages. The front page will look significantly differently than inside pages, and different sections will have slightly different styles.
- Draw lines to see how columns will affect the flow of your paper. Too many columns will make your text too crowded, while too few columns will lead to your stories appearing blocky.
- Try placing text blocks in different places on your scratch page. Wrap text around images, or try placing an image directly above or below the story that it’s related to.
- Experiment with headline placement. Headlines need to grab the reader’s attention, but they can’t be so large that they’re distracting.
3
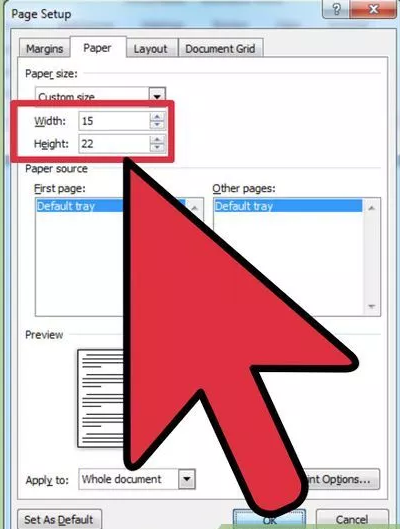
Decide on your page size. The average American newspaper is about 15”x22”. You can recreate this size in Word, but printing it from home will be next to impossible. You could potentially get this size custom printed, but it can be spendy.

- Instead of making a standard newspaper size page, you can make a newsletter format. These typically have two columns, and fit on standard 8 ½”x 11” paper.
- How you fold the paper will affect how you design it. A typical newspaper is folded in half horizontally, so important content will go on the top half of the front page.
4
Collect all of your articles in compatible formats. If you are managing a newspaper design, you will most likely have a variety of contributions from different writers or editors. Make sure that all of these are in compatible formats where you can drop the text into MS Word without too much trouble

Method2
Building Your Paper
1
Create a new document in Word. When you open the Word menu and click New, you are given the option to create a blank page or pick from a template.
- If you’d like to use a premade newsletter template, look for the Newsletter section in the Template menu. You can pick from a variety of designs that can be downloaded directly from Microsoft. These templates often include instructions on how to change the text and images. A template can be useful if you are in a hurry and need to make a newsletter with minimal fuss.
- If you’d like to design your own newspaper, click the “Blank document” option in the New menu. This will create a blank 8 ½” x 11” page.
2
Adjust your page size. If you want to create a newsletter-size paper, you can leave the settings as they are. If you’d like to make a page the size of a standard newspaper, you will need to adjust the paper settings:
- Select the Page Layout tab in your newly-created document. Click the expansion arrow in the bottom right corner of the Page Setup section.
- Click the Paper tab in the new window. From the Paper Size dropdown menu, select “Custom size”. Enter 15 for the Width and 22 for the Height.
- Click Ignore when Word warns you that the margins are outside of the printable range. Since you won’t be printing from home, printable margins are a non-issue.
- Viewing a page this size can be difficult unless you have a widescreen monitor.
3
Design your header. Double-click on the header section of the document, which is located above the top margin. This will open the Header & Footer Design tab. You can insert automatic date and page numbers, and adjust how the headings are aligned.
- Newspapers typically have a different header on the first page. The name and date are more prominent on the front page. To set a different header for the front page, check the Different First Page box in the Options section in the Design tab.
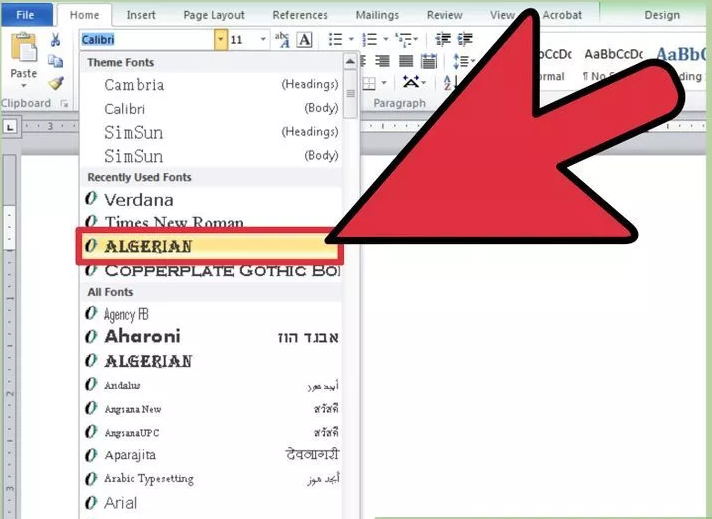
- To adjust fonts and styles in the header, select the Home tab while editing the header. You can change the font, size, alignment, and style.
- You can construct your newspaper header in a graphic design program and paste it into your Word document to cap your front page.
Method3
Adding the Content
1
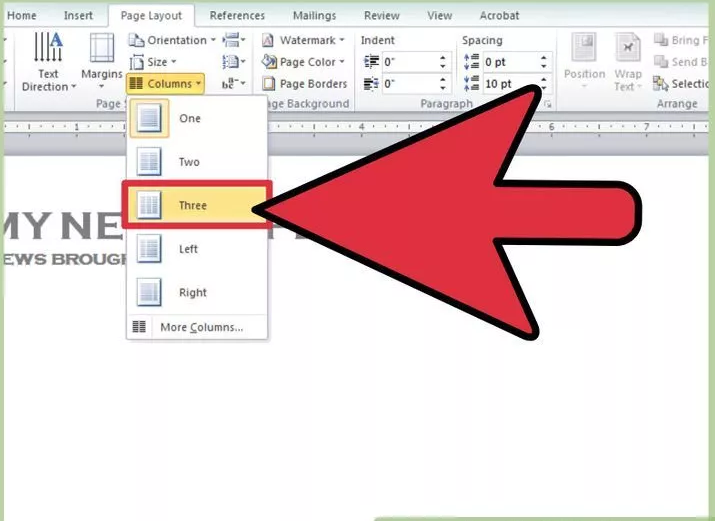
Set columns for your content. Word can create automatic columns that will format the content that you add. You have several options when it comes to adding columns to your document. To access the Column tools, click the Page Layout tab. In the Page Setup section, click the Columns button.
- Click the number of columns you want from the list to apply that number of columns to you entire document.
- Click More Columns to set custom column options. You can create different amount of columns on the same page by using the More Columns tool. Place your cursor where you want your columns to change. In the More Columns tool, select “This point forward” in the “Apply to:” menu. Everything above the cursor will remain the same, and the new column setup will begin where the cursor is placed.
- When setting your print into columns, it helps to take a look at how a certain length of article appears when you place it into a column, so that you can understand how the length of articles will affect your layout. Working within the parameters of your desired page count will be one of the challenges of the edit.
2
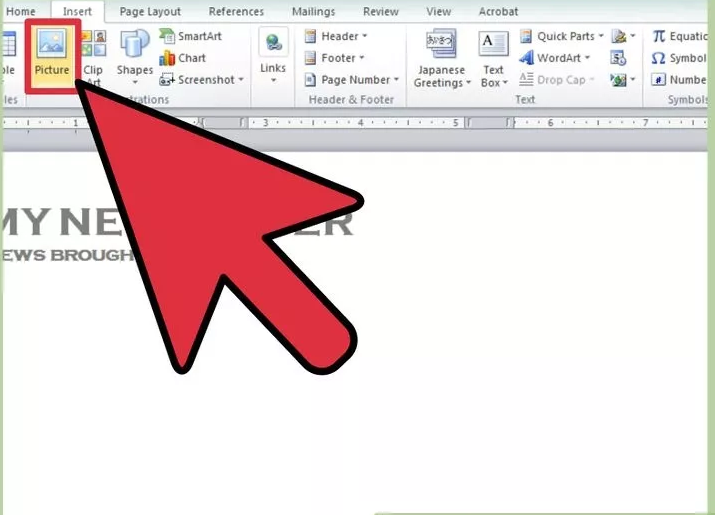
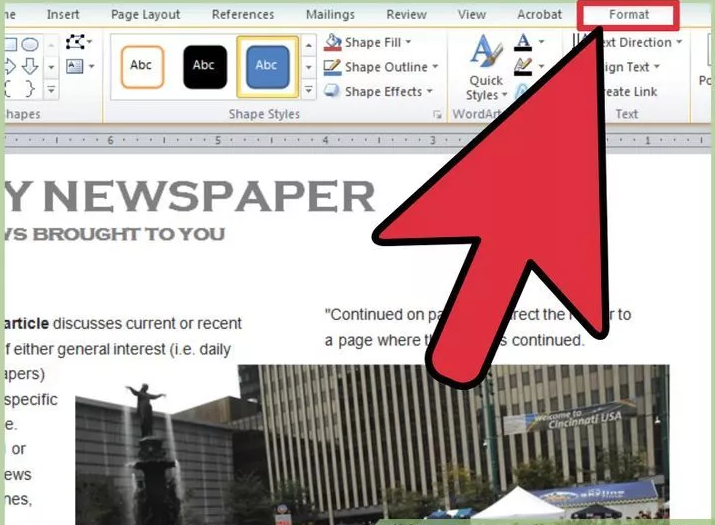
Insert your pictures. To add pictures to your newspaper, click the Insert tab. Navigate to the picture that you’d like to use and click Insert. Word will place the picture where your cursor is located. The Format tab will open.
- You can move the picture by clicking and dragging it around the document. Use the boxes on the edge of the picture to resize it with your mouse.
- You can adjust the way that text wraps around the picture by clicking the Text Wrapping button in the Arrange section.
- To freely move your picture around the page, click the Position button in the Arrange section. Select any of the options in the “With Text Wrapping” category. This will unlock the image from the text lines, and allow you to place it wherever you would like.
3
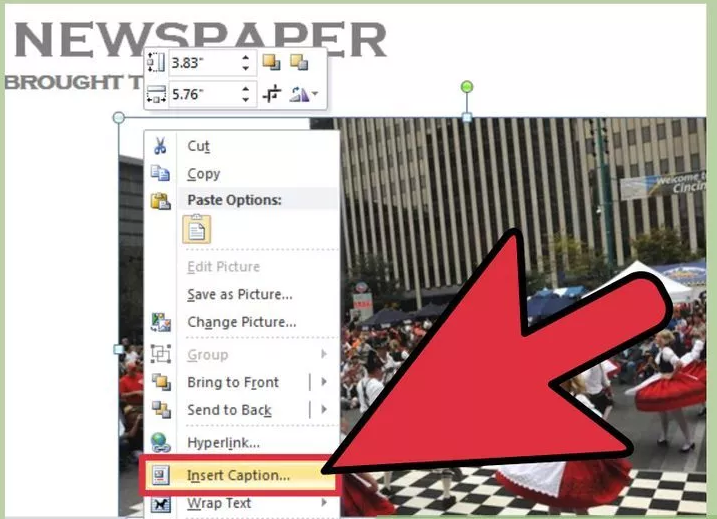
Add captions to your images. Word will allow you to attach a caption to any image file that you insert into your document. Right-click on the image and select “Insert Caption…” from the menu. You can enter the text for your caption in the window that opens.
- Check the Exclude Label box to keep word from printing a generic label in front of your caption.
- You can adjust the font and size of the caption, select the Home tab while editing the caption.
4
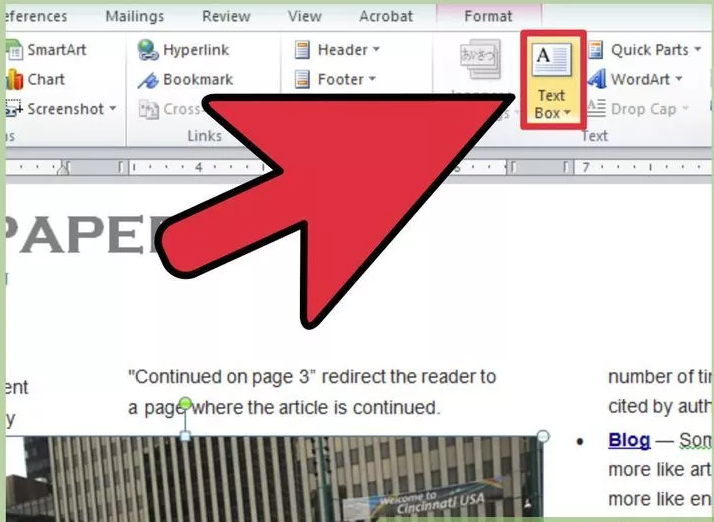
Add sidebars. Use the Text Box tool to add sidebars, quotes, and other small additions to the paper. Click the Insert tab and select the Text Box button. Word will offer a variety of styles to pick from. You can also draw your own text box by click the Draw Text Box button at the bottom of the menu.
- You can move and resize text boxes much like you would images.
5
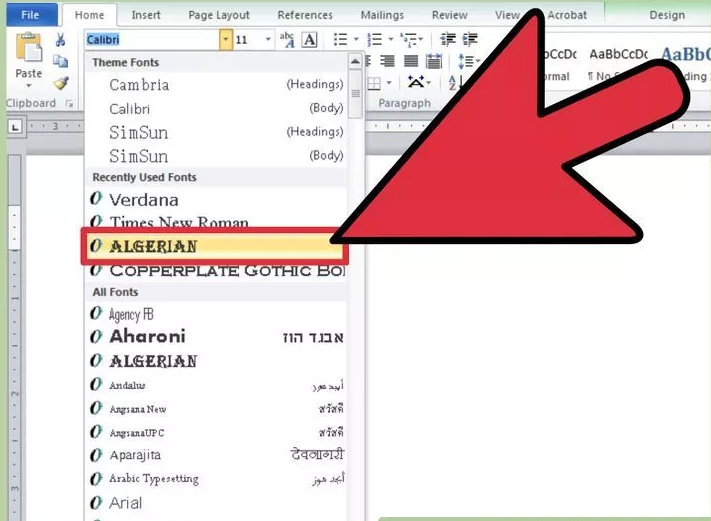
Adjust your fonts and styles. Once you have some content in your newspaper, play around with fonts to find one that allows for easy readability. You can add some flair to your newspaper’s name with a good font selection.
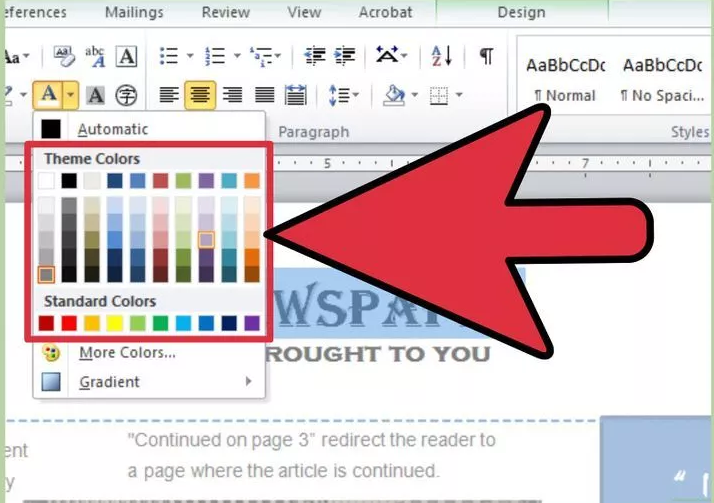
- Try different headline sizes until you come to a good mix between size and noticeability.
- Make sure that your design styles apply uniformly throughout the paper. Layouts can change between sections, but basic decisions like font and size should remain constant.
6
Decide on your colors. Traditional newspapers use color sparingly for both dramatic effect and for economic reasons. Color printing is significantly more expensive than black-and-white printing. Decide what elements of your paper, if any, necessitate the use of color.
- If you are distributing the newspaper digitally, use color photos as much as possible. Avoid colored fonts and logos with a variety of colors.
7
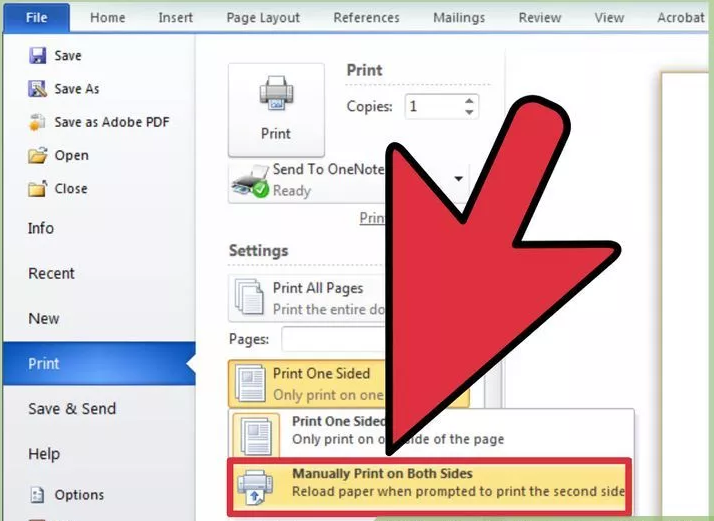
Prepare a two-sided printing solution. In order for your resulting print to look like a newspaper, it must be printed on both sides of the sheet. Check your printer properties in the “Print” dialogue box to see if your equipment supports double-sided print jobs.
8
Do a final edit. Your final review will help you catch any straggling spelling and punctuation errors, as well as style issues that you want to change before you go to print. Just like those who make newspapers on more complicated layout programs or on physical presses, you might want to put a good effort into the final edit, since the quality of proofing really contributes to the best product.
