Inserting Pictures and Clip arts in MS PowerPoint
A presentation would not be complete if one cannot add Pictures and other Media to buttress a point or to show what is desired or required.
- On the Insert tab, on the Image group (2010, 2013, 2016, 2019), Illustration group(2007) click on the Picture button

- Insert Picture dialog box appears.
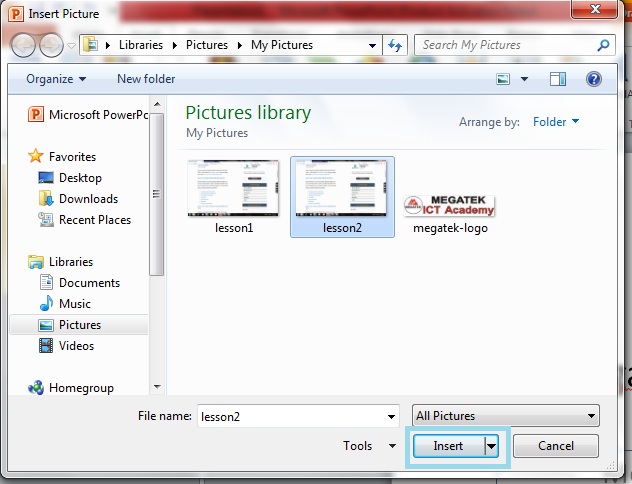
- Click Insert, the picture will be added to the slide. Click and drag the picture to move it to desired location.


The circled and boxed part are tools used in resizing your Pictures.
You have successfully added a picture to your slide and Presentation.
To add Clip Art follow the steps below:
- On the Insert tab, on the Image group (2010, 2013, 2016, 2019), Illustration group(2007) click on the Clip Art Button.
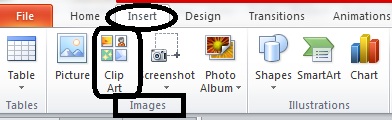
- Clip Art task pane appears on the right side.

\
- In task pane you will notice two fields: Search for, Results should be.
In "Search Field" you can enter the keyword related to clip art you want to insert.
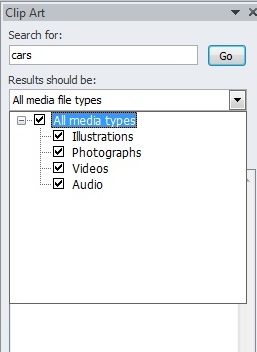
- Now click the "Go". Clip Art menu will appear. Select the desired clip art or click the drop- down arrow next to clip art, it will display Insert option to add the clip art.
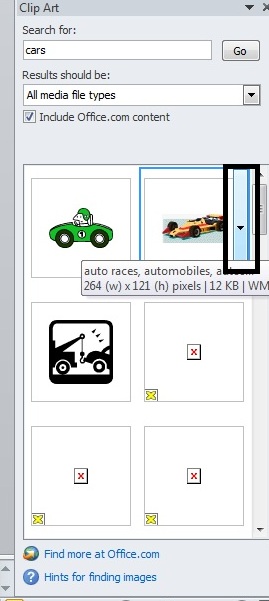

You have successfully added a clip art to your slide and Presentation.
MORE TUTORIALS ON LATEST TECHNLOGIES


