
Microsoft Excel often contains sensitive information such as financial records, employee data, business reports, and confidential analysis. To prevent unauthorized access or accidental changes, Excel provides several password protection options.
By password protecting worksheets or workbooks, users can control who can view, edit, or modify the data.
This article explains how to protect Excel sheets and workbooks to keep your data secure.
Why Password Protect Excel Files?
Protecting Excel files is important when working with sensitive or important information.
Password protection helps to:
- Prevent unauthorized access
- Protect formulas from being edited
- Secure confidential reports
- Avoid accidental changes to important data
Many businesses use Excel password protection when sharing files with colleagues or clients.
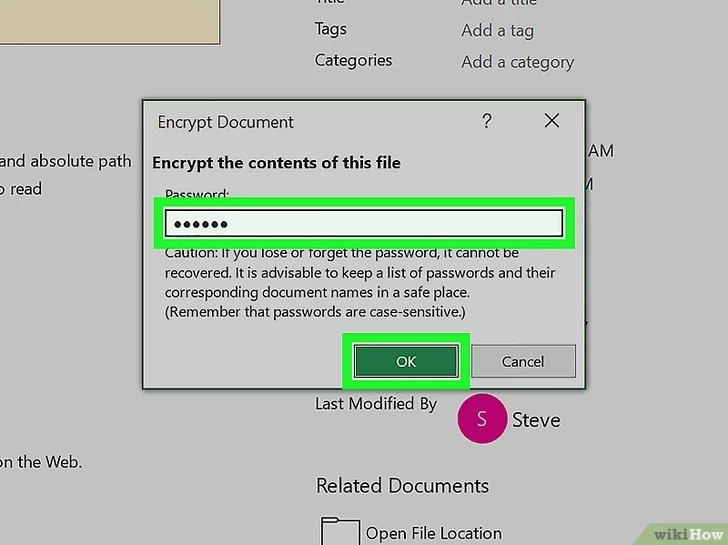
Protecting a Worksheet in Excel
Protecting a worksheet prevents users from editing certain parts of the sheet.
For example, you may allow users to view data but not change formulas.
Steps to Protect a Worksheet
- Open your Excel worksheet.
- Go to the Review tab.
- Click Protect Sheet.
- Enter a password.
- Select what actions users are allowed to perform.
- Click OK.
After protection is applied, users will not be able to edit restricted cells without the password.
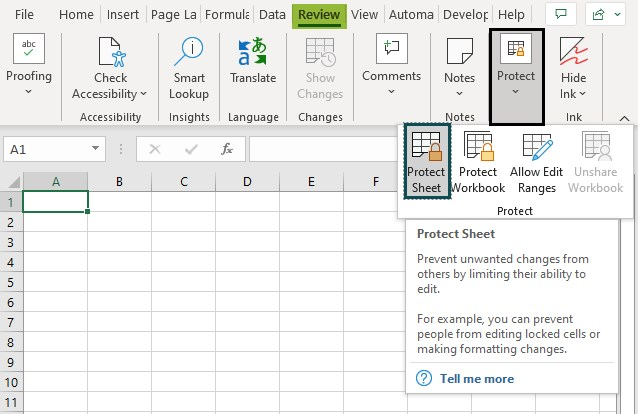
Allowing Specific Cells to Be Edited
Sometimes you may want to protect most of the worksheet but allow editing in certain cells.
To do this:
- Select the cells that should remain editable.
- Right-click and choose Format Cells.
- Go to the Protection tab.
- Uncheck Locked.
- Apply Protect Sheet.
Now users can edit only those unlocked cells.
Protecting an Entire Workbook
Workbook protection prevents users from changing the workbook structure.
This means users cannot:
- Add new worksheets
- Delete worksheets
- Move worksheets
- Rename worksheets
Steps to Protect a Workbook
- Go to the Review tab.
- Click Protect Workbook.
- Enter a password.
- Click OK.
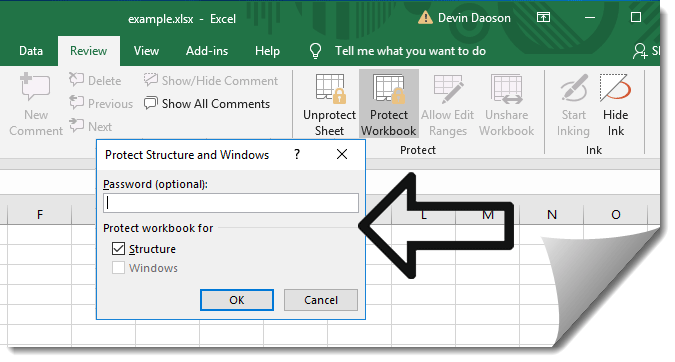
Encrypting an Excel File with a Password
If you want to completely secure your Excel file, you can encrypt it with a password. This ensures that no one can open the file without the password.
Steps to Encrypt an Excel File
- Click File.
- Select Info.
- Click Protect Workbook.
- Choose Encrypt with Password.
- Enter your password and confirm it.
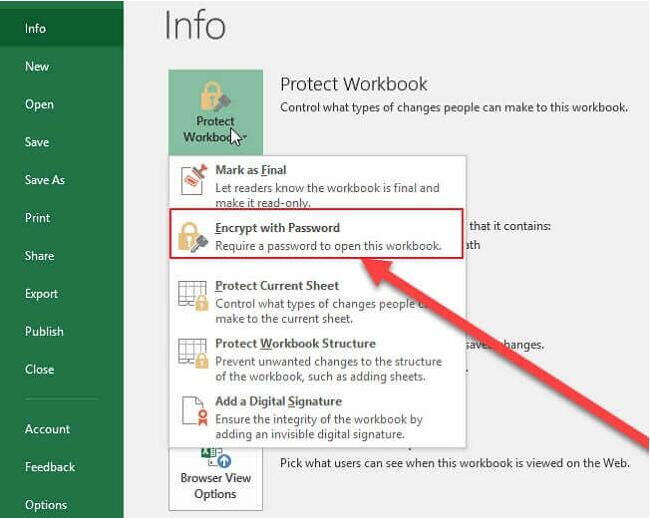
Removing Password Protection
If you want to remove password protection later:
- Go to the Review tab.
- Click Unprotect Sheet or Unprotect Workbook.
- Enter the password.
The protection will be removed.
Best Practices for Excel Password Protection
To protect your Excel files effectively:
- Use strong passwords
- Avoid sharing passwords publicly
- Keep backup copies of important files
- Document passwords securely
- Protect formulas and sensitive calculations
These practices help maintain data integrity and security
Common Mistakes to Avoid
Some common mistakes when protecting Excel files include:
- Forgetting the password
- Protecting the sheet but leaving critical cells unlocked
- Sharing protected files without instructions
Always keep a secure record of your password to avoid losing access to your own file.
Conclusion
Password protecting Excel sheets and workbooks is a simple yet powerful way to secure important data. By applying worksheet protection, workbook protection, or file encryption, users can control access and prevent unauthorized modifications.
Learning how to protect your Excel files ensures that sensitive information remains safe and that important formulas and calculations are preserved.