Good Morning.
How was your night?
Today, I want to teach you how to drive your internal and external hardwares that are not working on your computer systems.
To drive simply means to make hardware that is not working with a system works. That is using making it compatible with your computer system.
Why the need to drive?
The simply reason for it is to enable the said hardware works with your computer system. For instance you may have external webcam but it is not working with your computer system. Despite the device is within the range of supported Operating System Version. Then, drive has to set in.
Then, how do you drive?
Just like I said earlier, it enables you to work with the attached hardware. To do this, kindly follow the steps below:
- Click on Start Menu.
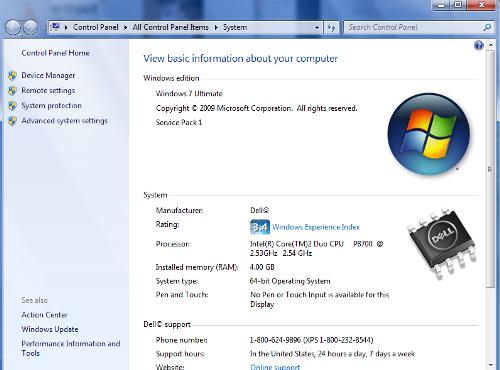
- Right click My Computer.
- Click on Properties.

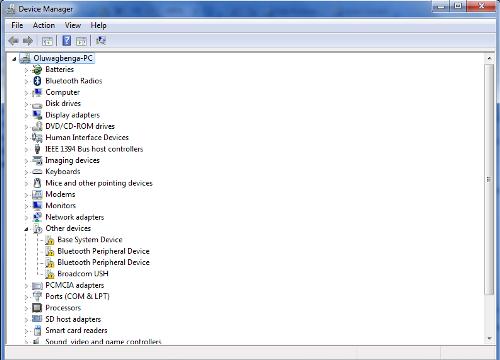
4. Click Device Manager (it is at the left hand side corner).

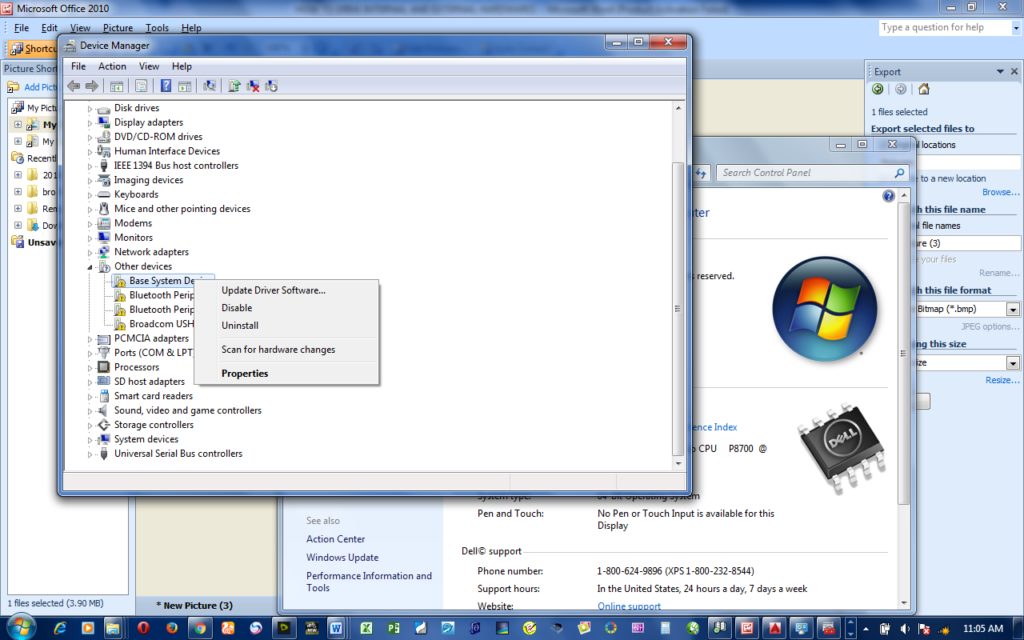
5. Right the device you want to drive.
Note: the ones that are not working will have question mark attached to them.
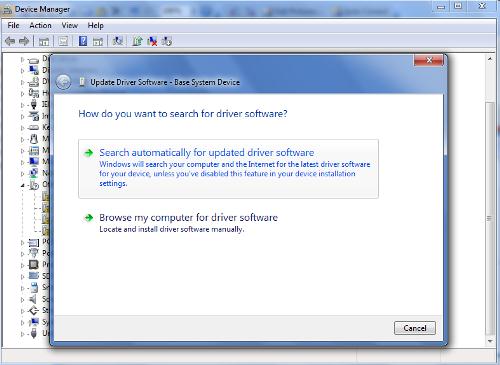
- Click on Update Device Software and select whether you want it done automatically or you want to specifically do it.

Note: to be done automatically, you need to have inserted what is known “driver software”. But when doing it manually (specifically) you have to select where the file to drive the device is. That is you will have saved to a file on your computer system earlier doing attempting to drive the device.
Should you have questions, kindly send them in.
You are welcome.
