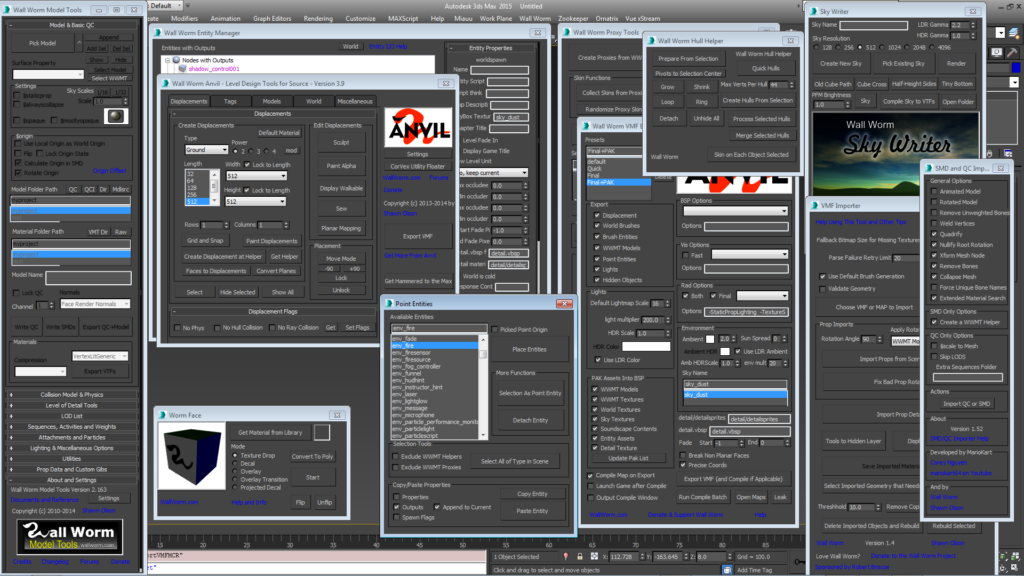
3ds Max has a default 4-view layout: top, left, front and perspective. Toolbars (containing buttons) can be customized and docked anywhere in the window. Most of the buttons in toolbars have tooltips when you hover your mouse over them—and some have different functions depending on whether you left-click or right-click. Any button with a little arrow in the bottom-right corner can be held down to produce extra options.
An important part of the Max UI is the command panel. In the default Max UI, the command panel is usually docked on the right side of the window. The command panel is a logical partition of functions divided into six tabs; you can hover over each tab to get its title. The three tabs you will likely use most for level design are Create, Modify and Display.
Create Panel
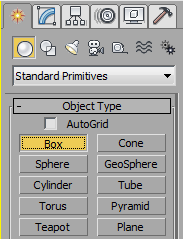
 You can think of the Create Panel as your warehouse. It is where all your goods are stored: Boxes, Cones, Lights, Cameras, Shapes, etc. Whenever you want to add something new into your scene, this is where you go. When you open the create panel, you’ll notice that it has icons that represent different major groups of object types. All geometry objects are located in the Geometry group. You can tell which group is currently active by the highlight color behind the active group. To make a light in the scene, choose the Light button and pick the kind of light you want to add, etc.
Your First Box
Open the create panel in the command panel and click the Box button. Now, when you mouse over the
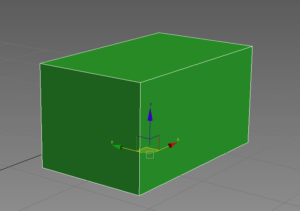
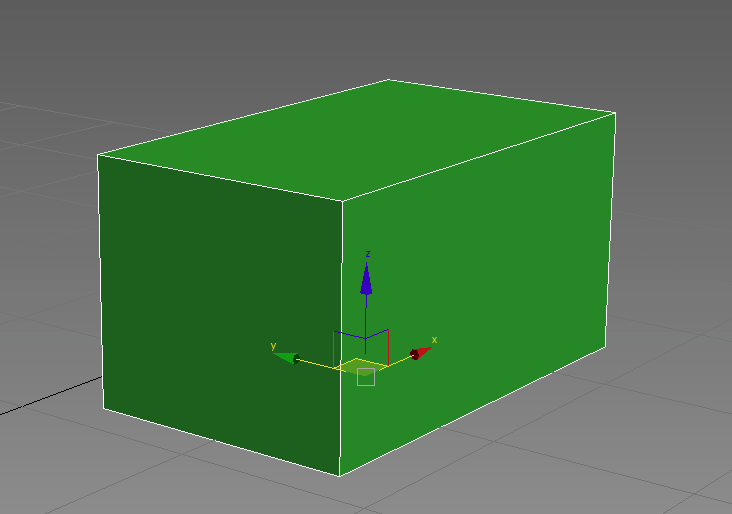
viewport windows, you’ll notice that the cursor is a cross hair. This indicates that you can create a box object, starting at the point you first click. If you click and let go, nothing happens. But if you keep the button down and drag (from point 1 to 2 in image), you’ll see the base of your box match the area between the initial click and current location. Let go of the mouse and start moving the mouse up or down—you’ll see the box height change as you move the mouse (point 3 in image).
Now click again. This click ends the creation process of this box.
You can immediately start clicking new locations to continue adding boxes.
During the creation process of any object in Max, right-clicking cancels the creation. In fact, right-click is the cancel for many functions in Max.
Modify Panel
 The modify panel is a powerful tool inside Max. It allows you to change the parameters available to an object and to work with the Modifier Stack. The modify panel only works if you have one or more objects selected in the scene. While the modifier stack is available when multiple objects are selected, the modify parameters are generally only available if a single object is selected in the scene.
Modify Your Box
Select the Box you created above and open the Modify tab of the command panel. Notice that you can change the values of this Box primitive, including all of its dimensions and some other parameters. If you click the height spinner and drag up, notice the box get taller in the viewport. You can type an exact value in here. As long as this box remains a Box primitive, you will always have access to these basic parameters. What does that mean? Well, we can collapse any object into a polymesh object, at which point we will lose access to these parameters and must edit the object via its sub-elements, like vertices, faces, edges, etc. We will return to this subject later.
Display Panel
The Display Panel is a general visibility tool to quickly show/hide classes of objects in the scene. For example, you can hide all geometry with this tab, which would quickly allow you to see only splines and lights.
The display panel is mainly for hiding/showing broad categories of objects. There are many other tools in Max to help you control what objects are visible in the viewports, including the Layer Manager, Scene Explorer and the Isolate Selection Toggle. The Layer Manager controls layers, which are similar to Visgroups inside Hammer. Layers can be shown/hidden just like Visgroups. And to hide all objects
except the current selection, click the light bulb icon at the bottom of the viewport (the Isolate Selection Toggle).
Navigation
Navigating inside 3ds Max scenes is a little strange if you are used to Hammer. But after a little bit of time in Max, you start dreading time spent navigating in Hammer. Your best bet to learn the navigation is Max is to watch this Autodesk Video on Navigating Scenes.
Note that the video above is using 3ds Max 2011, and later versions have some slightly different default options (and some Mouse controls are now configured in the Mouse tab of Customize User Interface.)
Become familiar with the viewport navigation tools in Max. You can access them with the buttons at the bottom-right of the Max UI. You can also configure various viewport settings by right-clicking the buttons in the navigation tools.
