
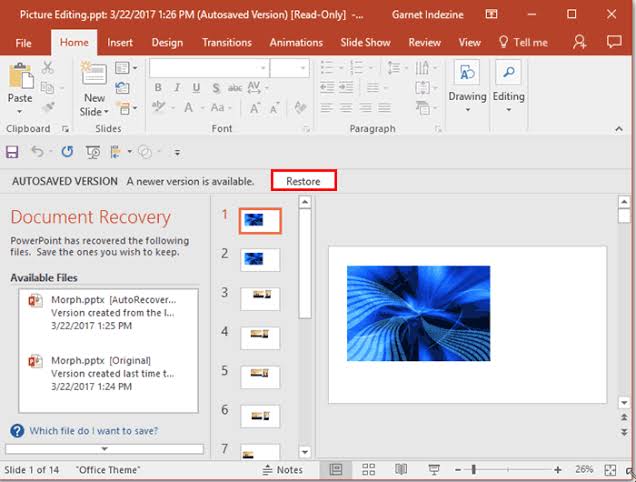
When you are working on a PowerPoint presentation, the Auto-save option, if enabled, automatically saves your file at the specified time increments. This way you get to replace your current file with an earlier version. This can be very useful if you want to go back to the state of your slides an hour ago, or even two hours ago without having to use any Undo option.
Note: Make sure that the Auto-save option is enabled to follow the rest of this tutorial.
To view and replace your current file with an earlier version, follow these steps:
- Launch PowerPoint. Access the File menu, and choose the Info option to get to Backstage view, as shown in Figure 1. The auto-saved versions of your current file are listed under Versions, as shown highlighted in red within Figure 1.
If you cannot see any auto-saved versions, that might be because you have not enabled the Auto-save option or you have selected a longer time interval for subsequent auto-saved versions. All these options are explained in our Auto-recover and Auto-save Options in PowerPoint 2010 tutorial. - To revert back to one of these auto-saved presentations, select any version from the list and click it. In Figure 2 you can see the version with timestamp of 2:38 (highlighted in red) is being selected.

Figure 1: List of auto-saved presentations

Note: The auto-saved versions of the current presentation are typically deleted when you close the file.
This opens the selected presentation within PowerPoint. Once opened you’ll notice a yellow strip just below the Ribbon and above the slide area (shown highlighted in red within Figure 3).

Figure 3: Auto saved presentation with yellow strip
Within the yellow strip, click the Restore button. This brings up a message window, as shown in Figure 4.

Click OK to overwrite your current document with the earlier auto-saved version.