
In real-world business environments, data is rarely meant for everyone. A regional manager should not see another region’s data, and employees should not access executive-level reports.
This is where Row-Level Security (RLS) becomes essential in Power BI.
RLS allows you to control exactly what data each user can see, making your dashboards secure, professional, and suitable for real business use.
In this article, you’ll learn how Row-Level Security works, how to implement it, and how to use it effectively in real dashboards.
What is Row-Level Security (RLS)?
Row-Level Security is a feature that restricts data visibility at the row level based on user roles.
Instead of creating multiple reports for different users, you create one report and control access using rules.
What RLS is used for
- Showing regional data to regional managers
- Restricting employee data by department
- Limiting financial data to executives
- Personalizing dashboards for each user
How Row-Level Security Works
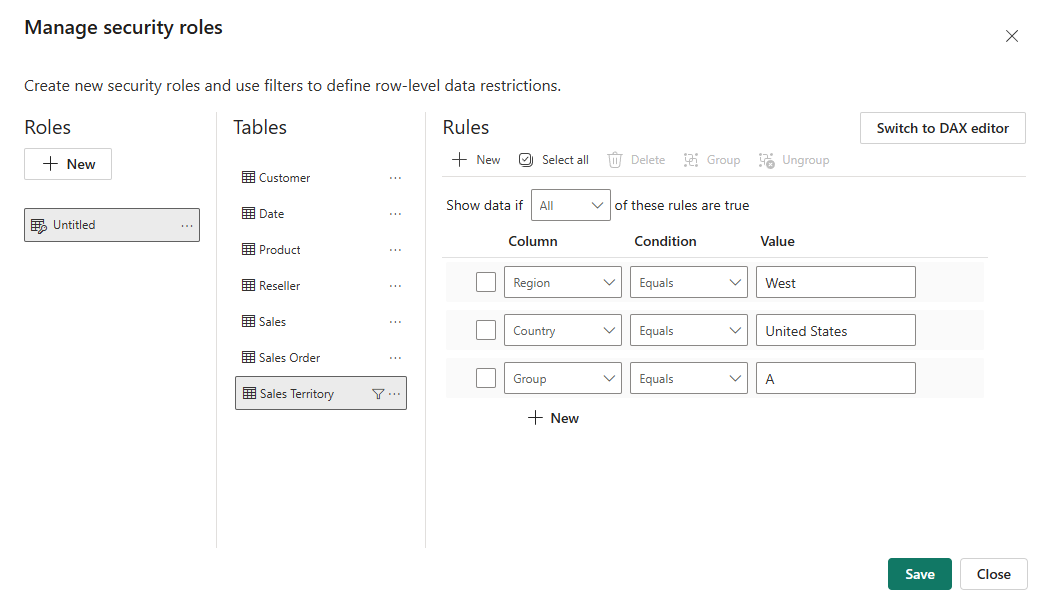
RLS works by applying filters to tables.
For example:
- A rule can be: Region = “West”
- Users assigned to this role will only see West region data
Power BI automatically filters all visuals based on this rule.
Types of Row-Level Security
1. Static RLS
You manually define roles.
Example:
- Role: North Region
- Filter: Region = “North”
Each user is assigned to a specific role.
2. Dynamic RLS
More advanced and flexible.
Instead of fixed roles, it uses user login information.
Example:
[Email] = USERPRINCIPALNAME()
What this is used for
- Automatically matching users to their data
- Large organizations with many users
- Scalable dashboards
Step-by-Step: Creating Row-Level Security
Step 1: Open Manage Roles
- Go to Model View
- Click Manage Roles
Step 2: Create a Role
- Name the role (e.g., “West Region”)
Step 3: Apply a Filter
Example:
[Region] = \"West\"
Step 4: Save Roles
Step 5: Test the Role
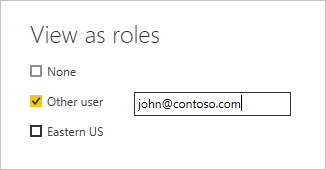
- Click View as Role
- Select the role to preview
This helps ensure everything works correctly.
Assigning Users in Power BI Service
After publishing your report:
- Go to Power BI Service
- Open your dataset
- Click Security
- Add users to roles
Now each user sees only their allowed data.
Real-World Example
Imagine a company with three regions:
- North
- South
- West
Instead of creating three reports:
- You create one report
- Apply RLS
- Assign users
Each manager sees only their region.
This is efficient and scalable.
Best Practices
- Use dynamic RLS for large teams
- Keep role definitions simple
- Always test roles before publishing
- Use clear naming conventions
- Document your security logic
Common Mistakes to Avoid
- Forgetting to test roles
- Using incorrect field references
- Overcomplicating DAX filters
- Not assigning users after publishing
Limitations of RLS
- Can affect performance if poorly designed
- Requires proper data modeling
- Needs careful testing
Conclusion
Row-Level Security is essential for any professional Power BI solution. It ensures that sensitive data is protected while still allowing users to interact with dashboards.
By mastering RLS, you can build dashboards that are not only insightful but also secure and scalable.