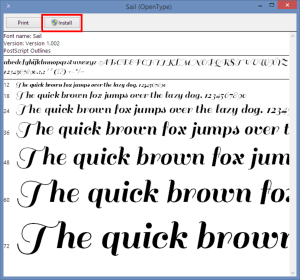
Corel Draw is a versatile graphics programs, but even the best products can benefit from more features. If you want to add more fonts to Corel’s type tool, the process is fairly simple. In addition, the fonts you add to Corel Draw will be available to all the programs on your system.
Step 1
Download the desired fonts from a website such as “1001 Free Fonts” or “Urban Fonts” (see Resources). There are plenty of free ones available. Save them to a folder you name “A.” If the files are compressed, extract them.
Step 2
Open the Windows “Start” menu, and then open the “Control Panel.” Click the “Fonts” folder.
Step 3
Select all the extracted files in folder “A,” right-click them and select “Copy.” Go to the “Fonts” folder, right-click on a blank area and select “Paste.” It’s very important that you do NOT have the files the “Fonts” folder selected when you paste in the new fonts. This will erase the fonts you already had. The new fonts will be listed in Corel Draw the next time you open it.

nice article
Good